Printing tip: At the bottom of each article on the site, a print/PDF/email function allows you to print or save a PDF of just the body of the article without any web site formatting. Scroll to the end of the article and find these icons: ![]() In the print dialog, you can click any element you don’t need to remove it from the printed/saved version.
In the print dialog, you can click any element you don’t need to remove it from the printed/saved version.
Each year that I make this, usually just once toward the end of the sweetcorn season in late September, I become more firm in my belief that this is my favourite savoury dish of all time. When you taste just the stock portion of this recipe, properly reduced, you’ll understand immediately why I’m so enthusiastic about it. You may even float off the floor slightly.
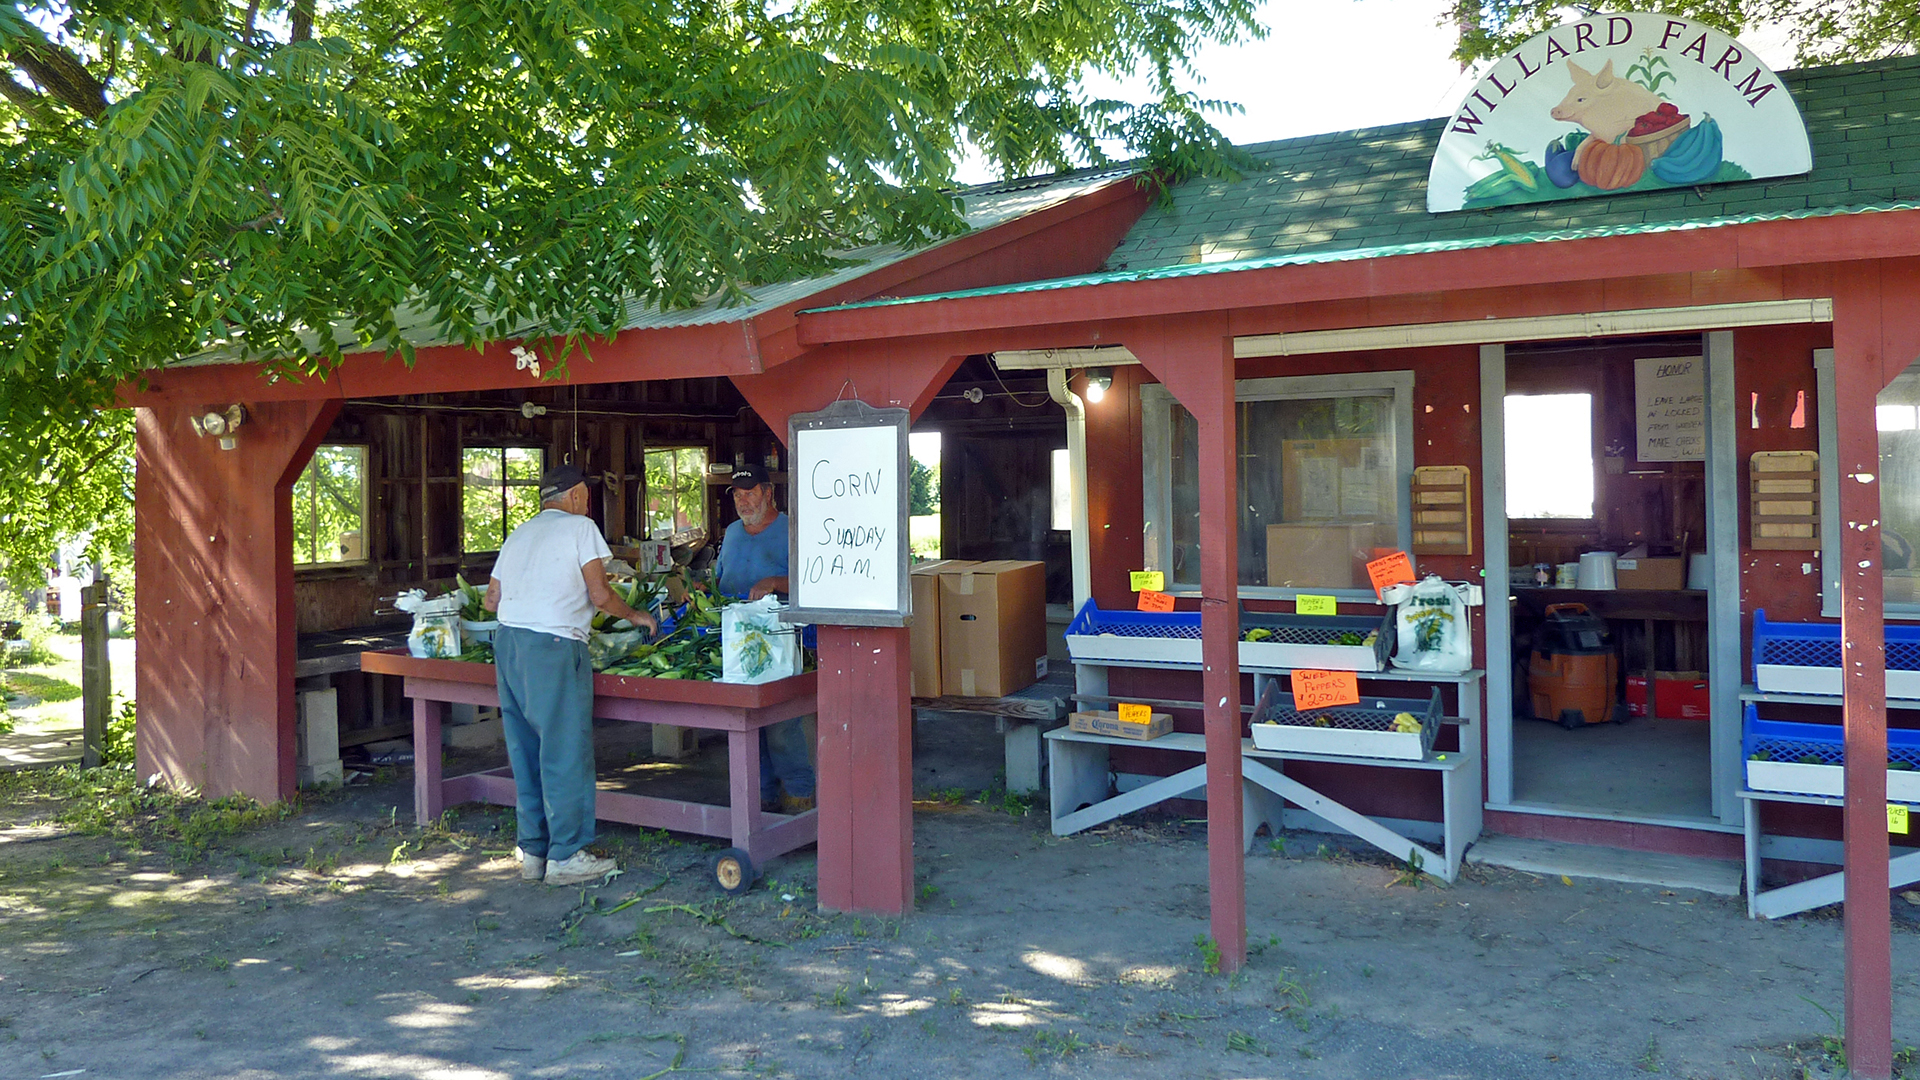
Willard Farm, Harvard, Massachusetts
This is where I get the corn – and it’s the best corn I’ve ever had. That’s Paul Willard on the right. I believe one branch or another of the Willard family has been farming in Harvard since the 1600s. Twelve or so generations ago, Simon Willard was one of the founders of the town of Concord, and ancestor Phineas Willard, a Revolutionary War Lieutenant (American side) who was said to be a wiseacre, contributed agricultural articles to the annual almanac that was printed in the local Shaker village in Harvard.
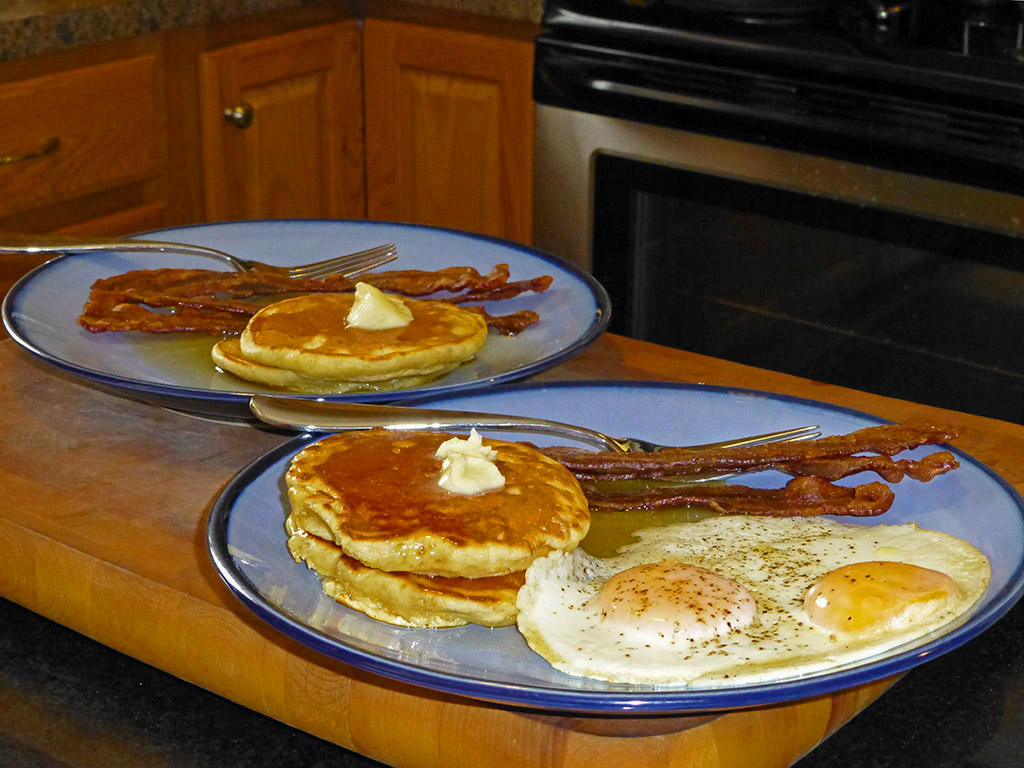
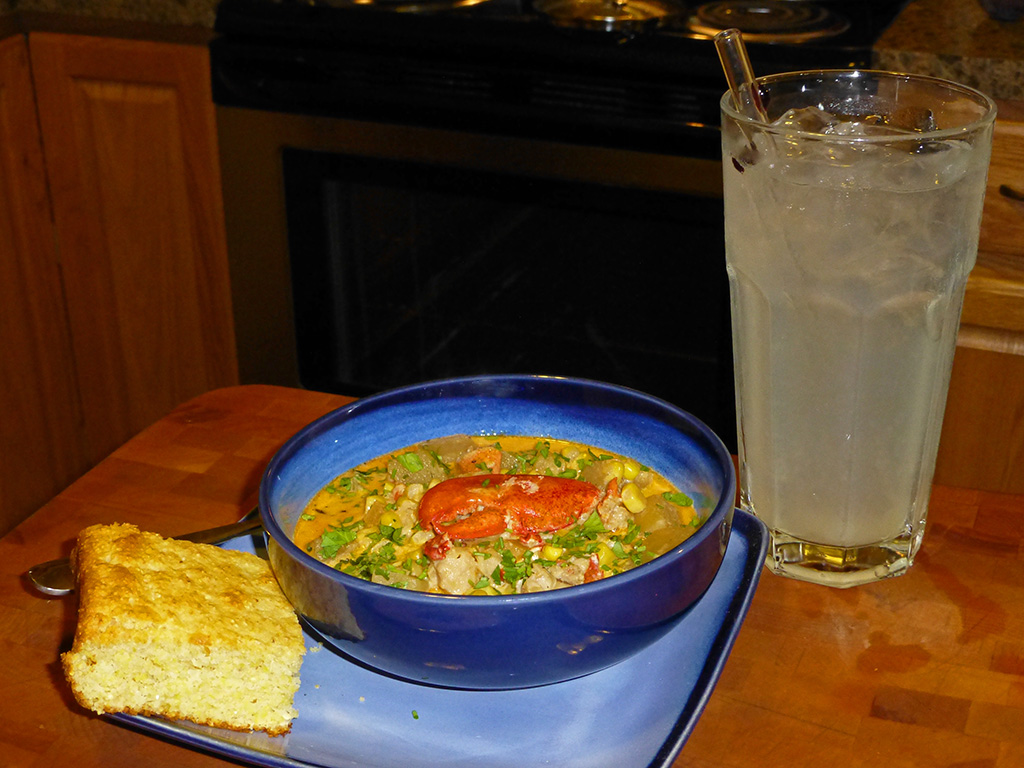
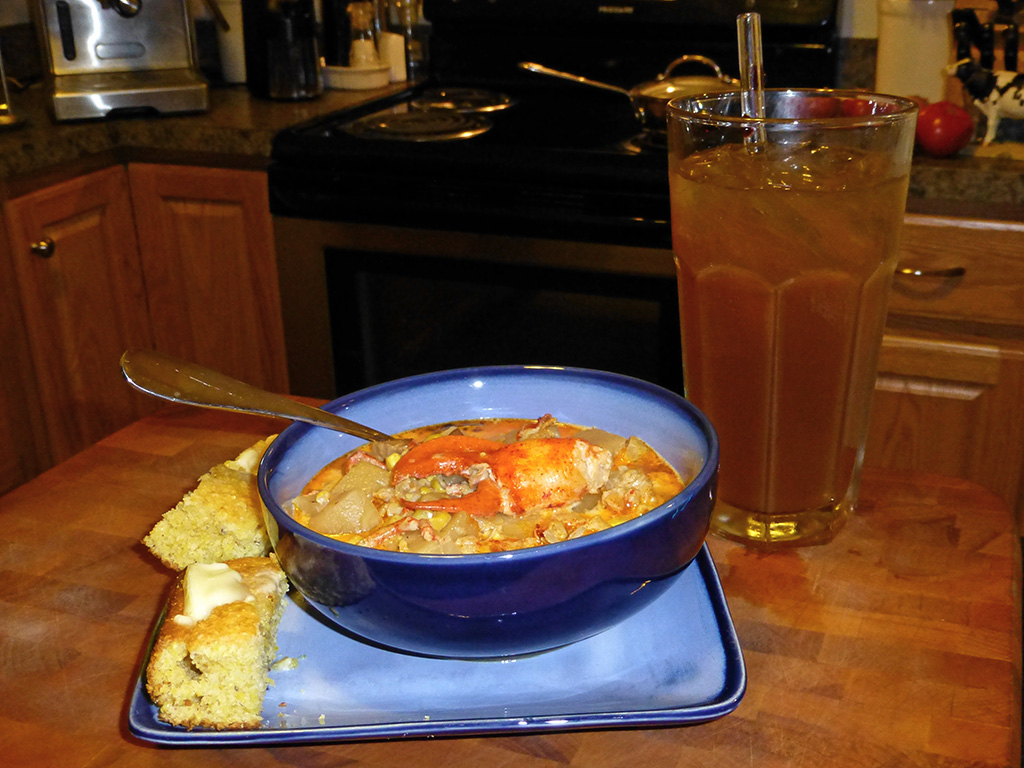
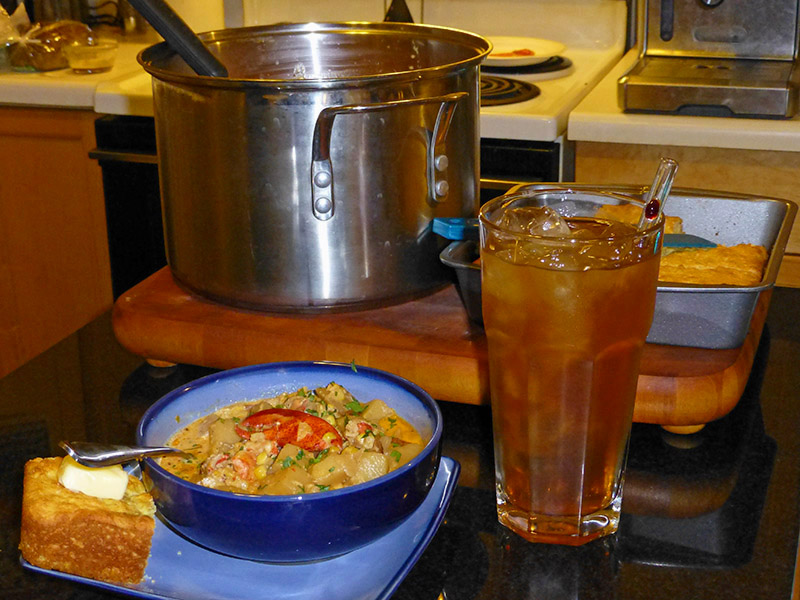
Here’s this year’s result, with freshly-squeezed lemon-limeade instead of iced tea this time.
Click for a larger size
Click for a 1920×1080 HD version
I would suggest reading both of these recipes fully before starting so you know how they merge and fit together, mainly so you don’t forget to get the stripped corn cobs into the stock early for maximum flavor extraction.
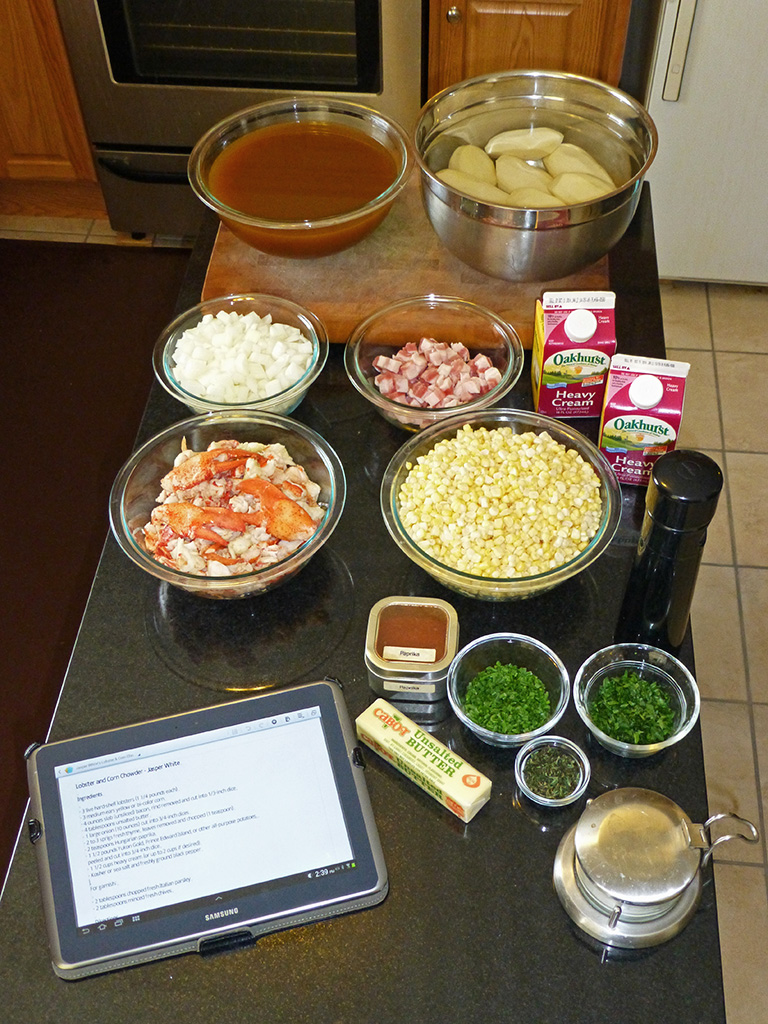
When I took the photographs here, I was making a double recipe of the chowder, so bear that in mind throughout.
Lobster and Corn Chowder – Jasper White
Ingredients
· 3 live hard-shell lobsters (1 and 1/4 pounds each)
· 3 medium ears yellow or bi-color corn
· 4 ounces slab (unsliced) bacon or saltpork, rind removed and cut into 1/3-inch dice
· 4 tablespoons unsalted butter
· 1 large onion (10 ounces) cut into 3/4-inch dices
· 2 to 3 sprigs fresh thyme, leaves removed and chopped (1 teaspoon)
· 2 teaspoons Hungarian paprika
· 4 cups lobster stock (recipe below)
· 1 1/2 pounds Yukon Gold, Prince Edward Island, or other all-purpose potatoes, peeled and cut into 3/4-inch dice
· 1 1/2 cups heavy cream (or up to 2 cups if desired)
· Kosher or sea salt and freshly ground black pepper
For garnish:
· 2 tablespoons chopped fresh Italian parsley
· 2 tablespoons minced fresh chives
Directions
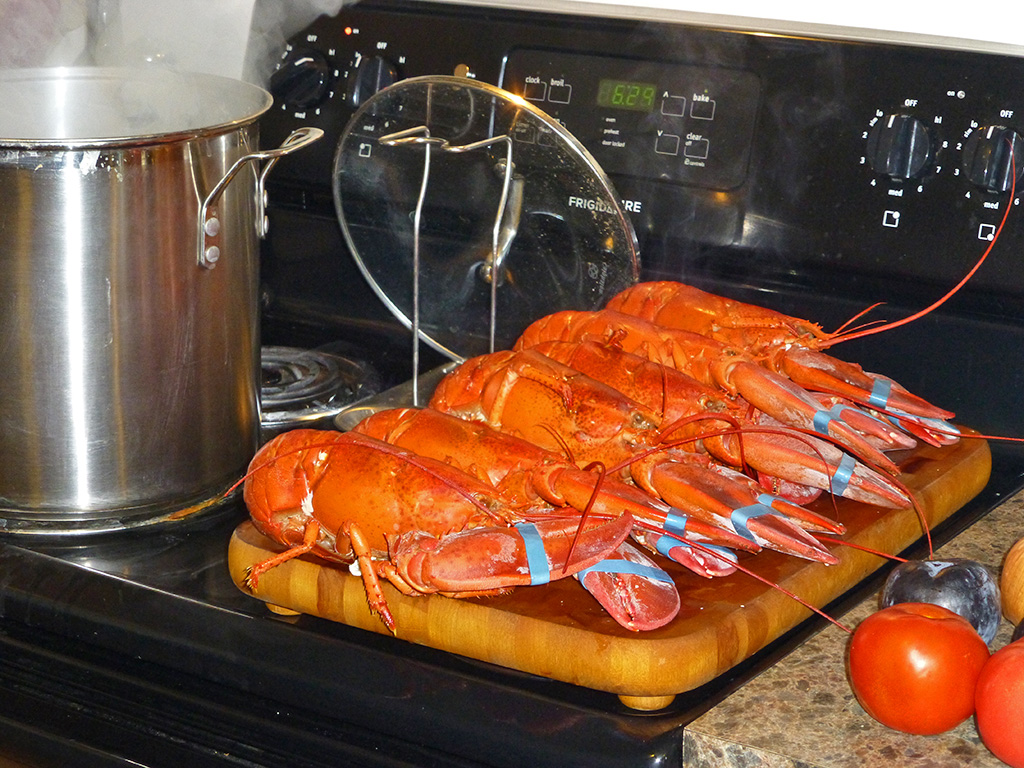
1. Fill an 8 to 10-quart stockpot two-thirds full with ocean water or tap water that is heavily salted. Bring to a rolling boil. One at a time, holding each lobster by the carapace (the protective shell), carefully drop it into the water. Cook for exactly four minutes from the last time the lobster went in. Using a pair of long tongs, remove the lobsters from the pot and let them cool to room temperature.
2. Pick all the meat from the tails, knuckles and claws. Remove the intestinal tract from the tail and the cartilage from the claws. Dice the meat into 3/4-inch cubes. Cover and refrigerate until ready to use. Using the carcasses (bodies), and leftover shells, make a lobster stock (Recipe is below). The stock will take about 1 1/2 hours to cook. Strain the stock; you should have 4 cups.
3. Meanwhile, husk the corn. Carefully remove most of the silk by hand and then rub each ear with a dry towel to finish the job. Cut the kernels from the cobs and reserve. You should get about 2 cups. Break the cobs in half and add them to the simmering stock.
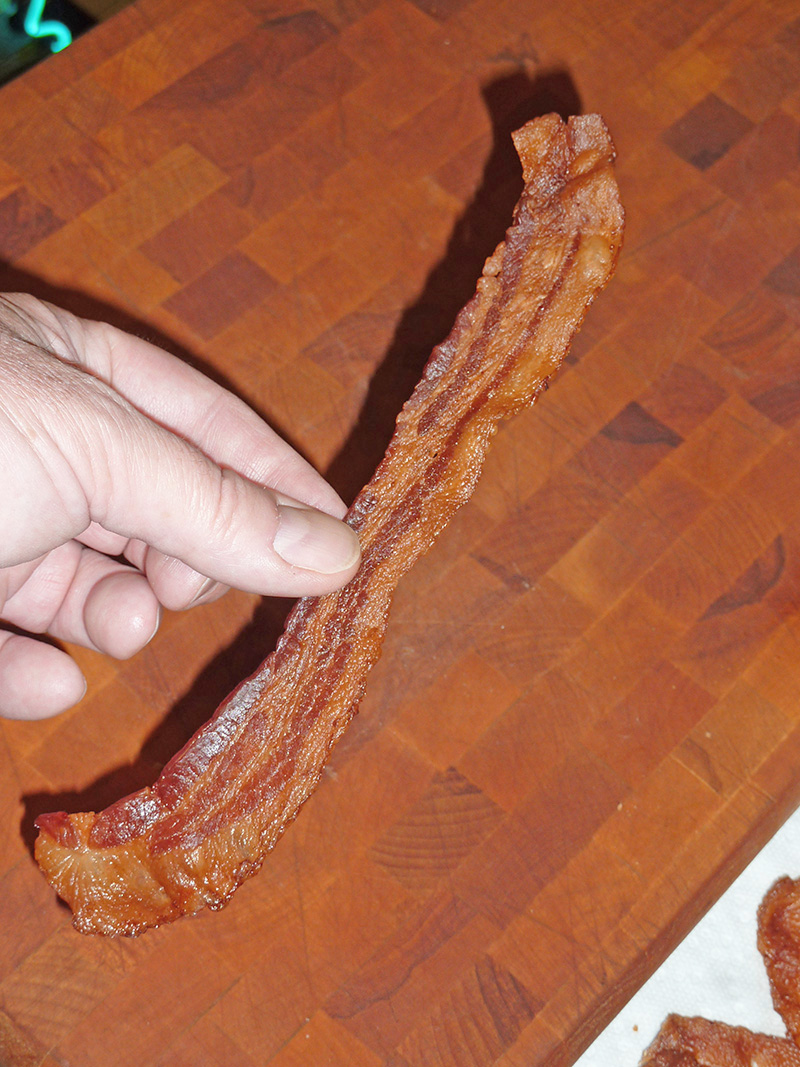
4. Heat a 4 to 6-quart heavy pot over low heat and add the bacon. Once it has rendered a few tablespoons of fat, increase the heat to medium and cook until the bacon is crisp golden brown. Pour off all but 1 tablespoon of the fat, leaving the bacon in the pot.
5. Add the butter, onion and thyme and sauté, stirring occasionally with a wooden spoon, for about 8 minutes, until the onion is softened but not browned. Add the paprika and cook 1 minute longer, stirring frequently.
6. Add the potatoes, corn kernels, and the reserved lobster stock. The stock should just barely cover the potatoes; if it doesn’t, add enough water to cover. Turn up the heat and bring to a boil. Cover the pot and cook the potatoes vigorously for about 12 minutes, until they are soft on the outside but still firm in the center. If the broth hasn’t thickened lightly, smash a few potatoes against the side of the pot and cook a minute or two longer to release their starch.
7. Remove the pot from the heat; stir in the lobster meat and cream, and season to taste with salt and pepper. If you are not serving the chowder within the hour, let it cool a bit, then refrigerate; cover the chowder after it is chilled completely. Otherwise, let it sit at room temperature for up to an hour, allowing the flavors to meld.
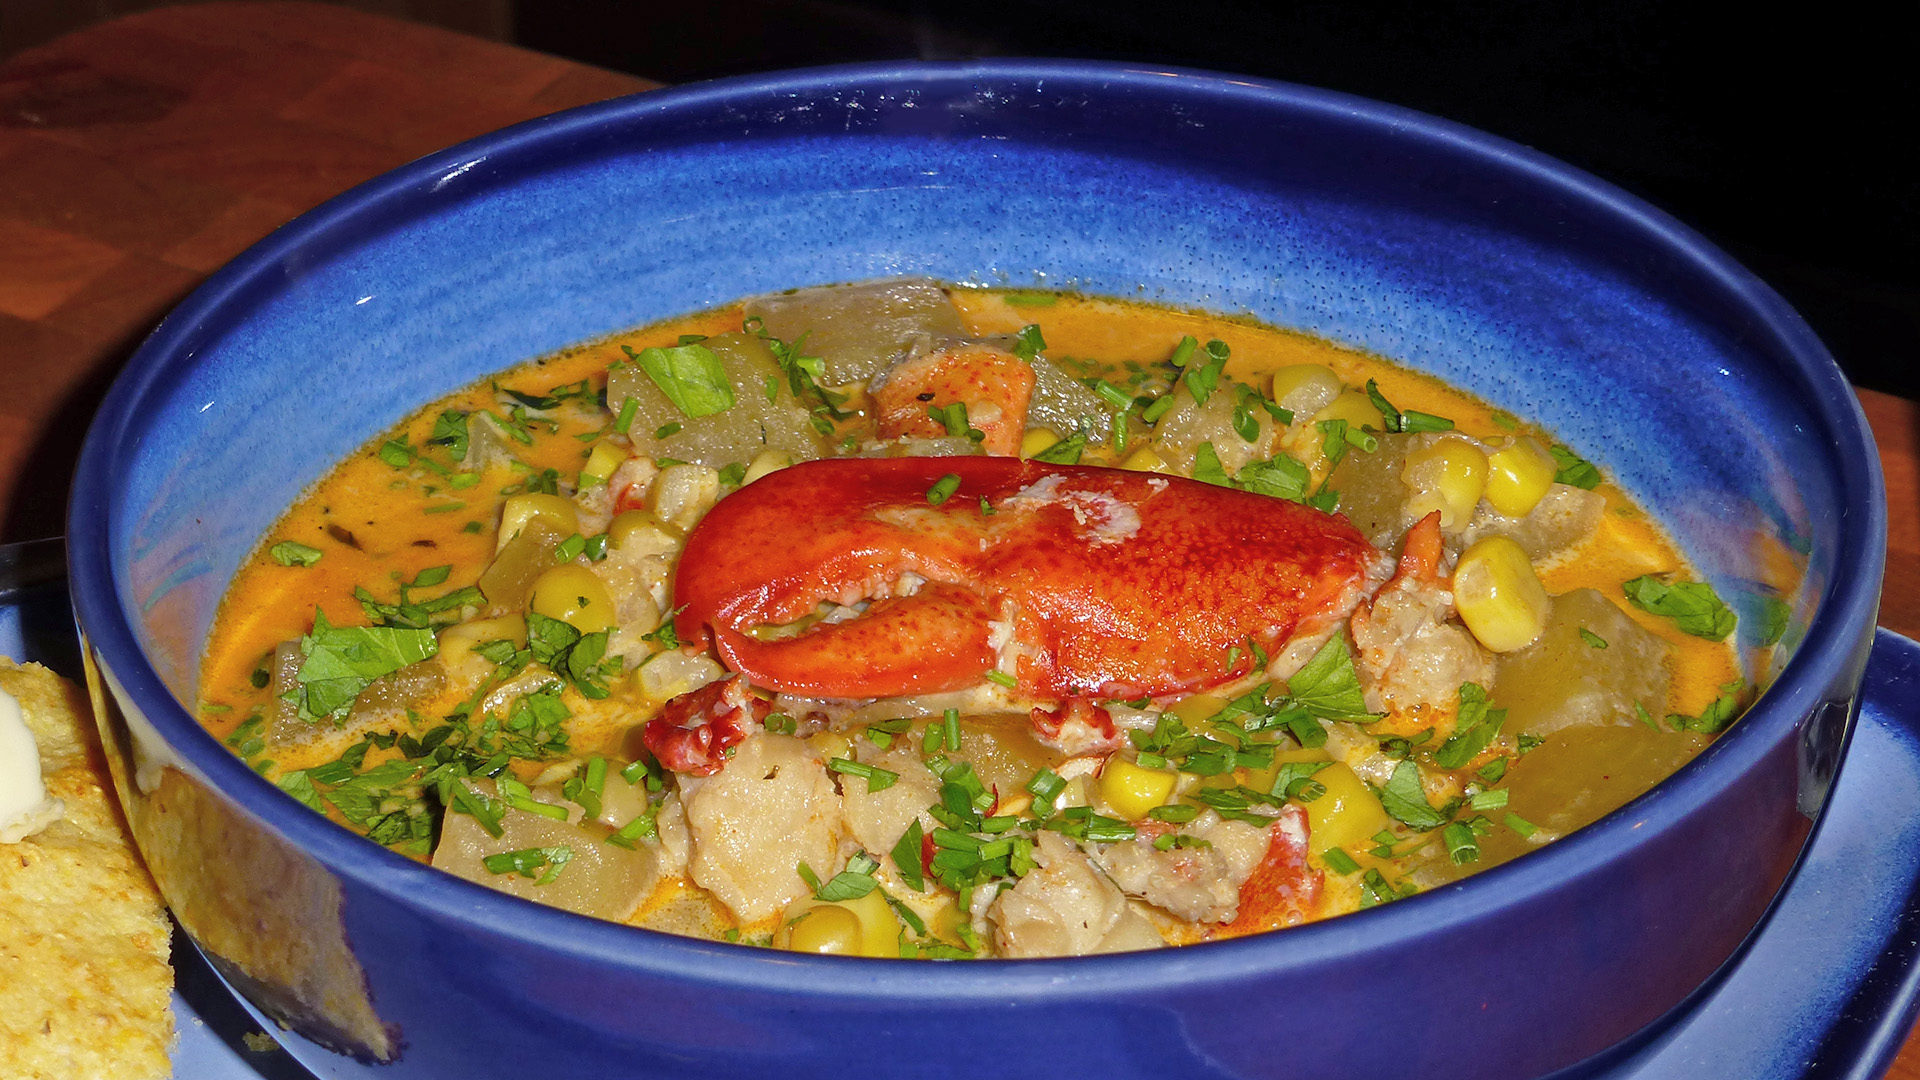
8. When ready to serve, reheat the chowder over low heat; don’t let it boil. Use a slotted spoon to mound the lobster, onions, potatoes, and corn in the center of large soup plates or shallow bowls, making sure they are evenly divided, and ladle the creamy broth around. Sprinkle with the chopped parsley and minced chives.
Makes about 10 cups; serves 10 as a first course or five or six as a main course.
![]()
Lobster Stock – Jasper White
Ingredients
· 2 pounds lobster carcasses and shells
· 2 quarts water
· 1 cup dry-white wine
· 1 cup chopped tomatoes with their juice (fresh or canned)
· 2 medium onions, thinly sliced
· 2 stalks celery, thinly sliced
· 2 small carrots, thinly sliced
· 4 cloves garlic, crushed
· 4 sprigs fresh thyme
· 2 dried bay leaves
· 1/4 teaspoon fennel seeds
· 1 teaspoon black peppercorns
· Kosher or sea salt
Directions for Lobster Stock
1. Split the lobster carcasses lengthwise and remove the head sac from each one. Place the carcasses, shells and tomalley (lobster’s liver) in a 6 to 8-quart stockpot, cover with the water, and bring to a boil, skimming the white scum from the surface of the stock. (Using a ladle and a circular motion, push the foam from the center of the outside of the pot, where it is easy to remove.) Reduce the heat so the stock is cooking at a fast, steady simmer.
2. Add the wine, tomatoes, onions, celery, carrots, garlic, thyme, bay leaves, fennel seeds and peppercorns, and let the stock simmer and cook down for about 1 hour. Add a little water if the stock falls below the lobster shells.
3. Season the stock lightly with salt. Taste for a rich flavor. If it seems light, simmer for about 20 minutes longer. Strain the stock with a fine-mesh strainer. If you are not going to be using it within the hour, chill it as quickly as possible. Cover the broth after it has completely cooled and keep refrigerated for up to three days, or freeze for up to two months. Makes about 1 quart.
![]()
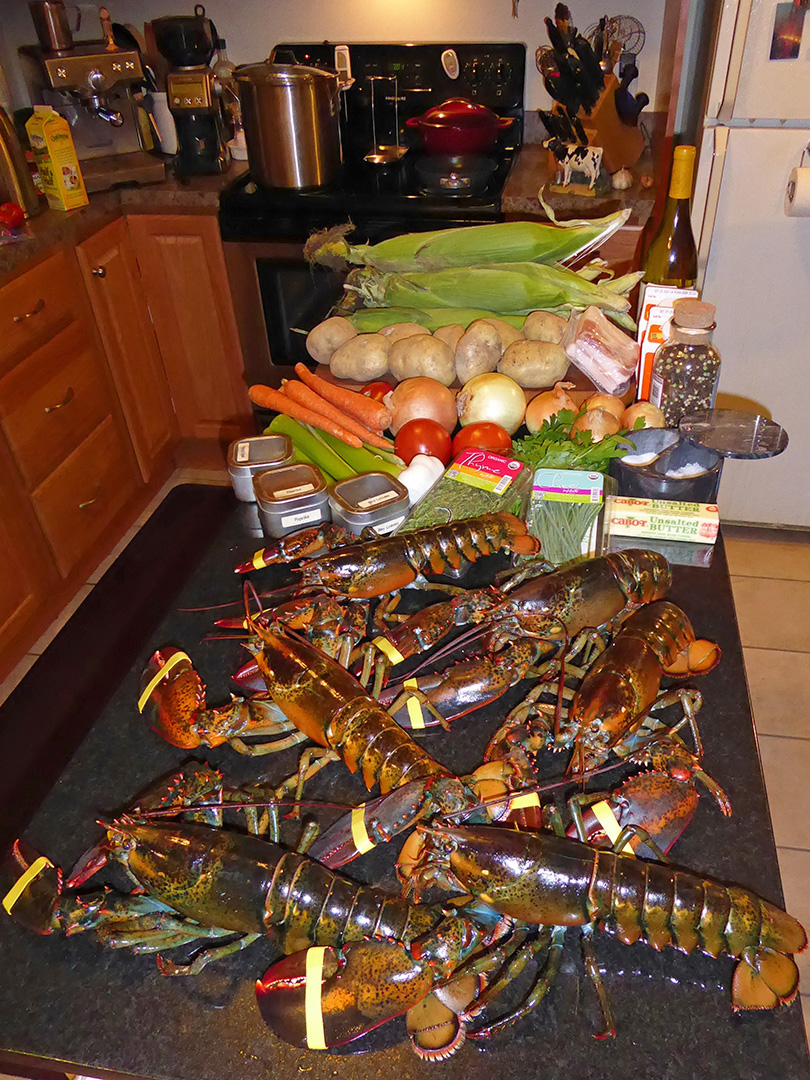
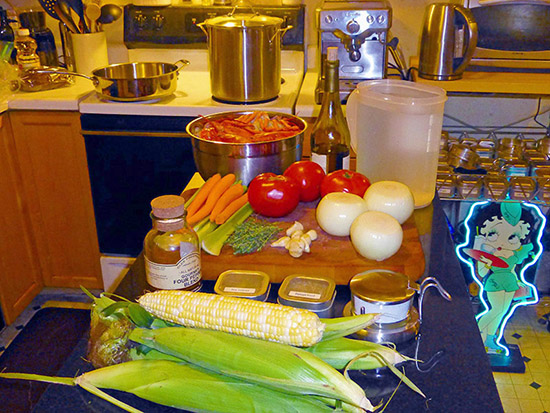
All of the ingredients for a double recipe on my kitchen island, including seven lobsters, one of which I steamed separately for a lobster roll.
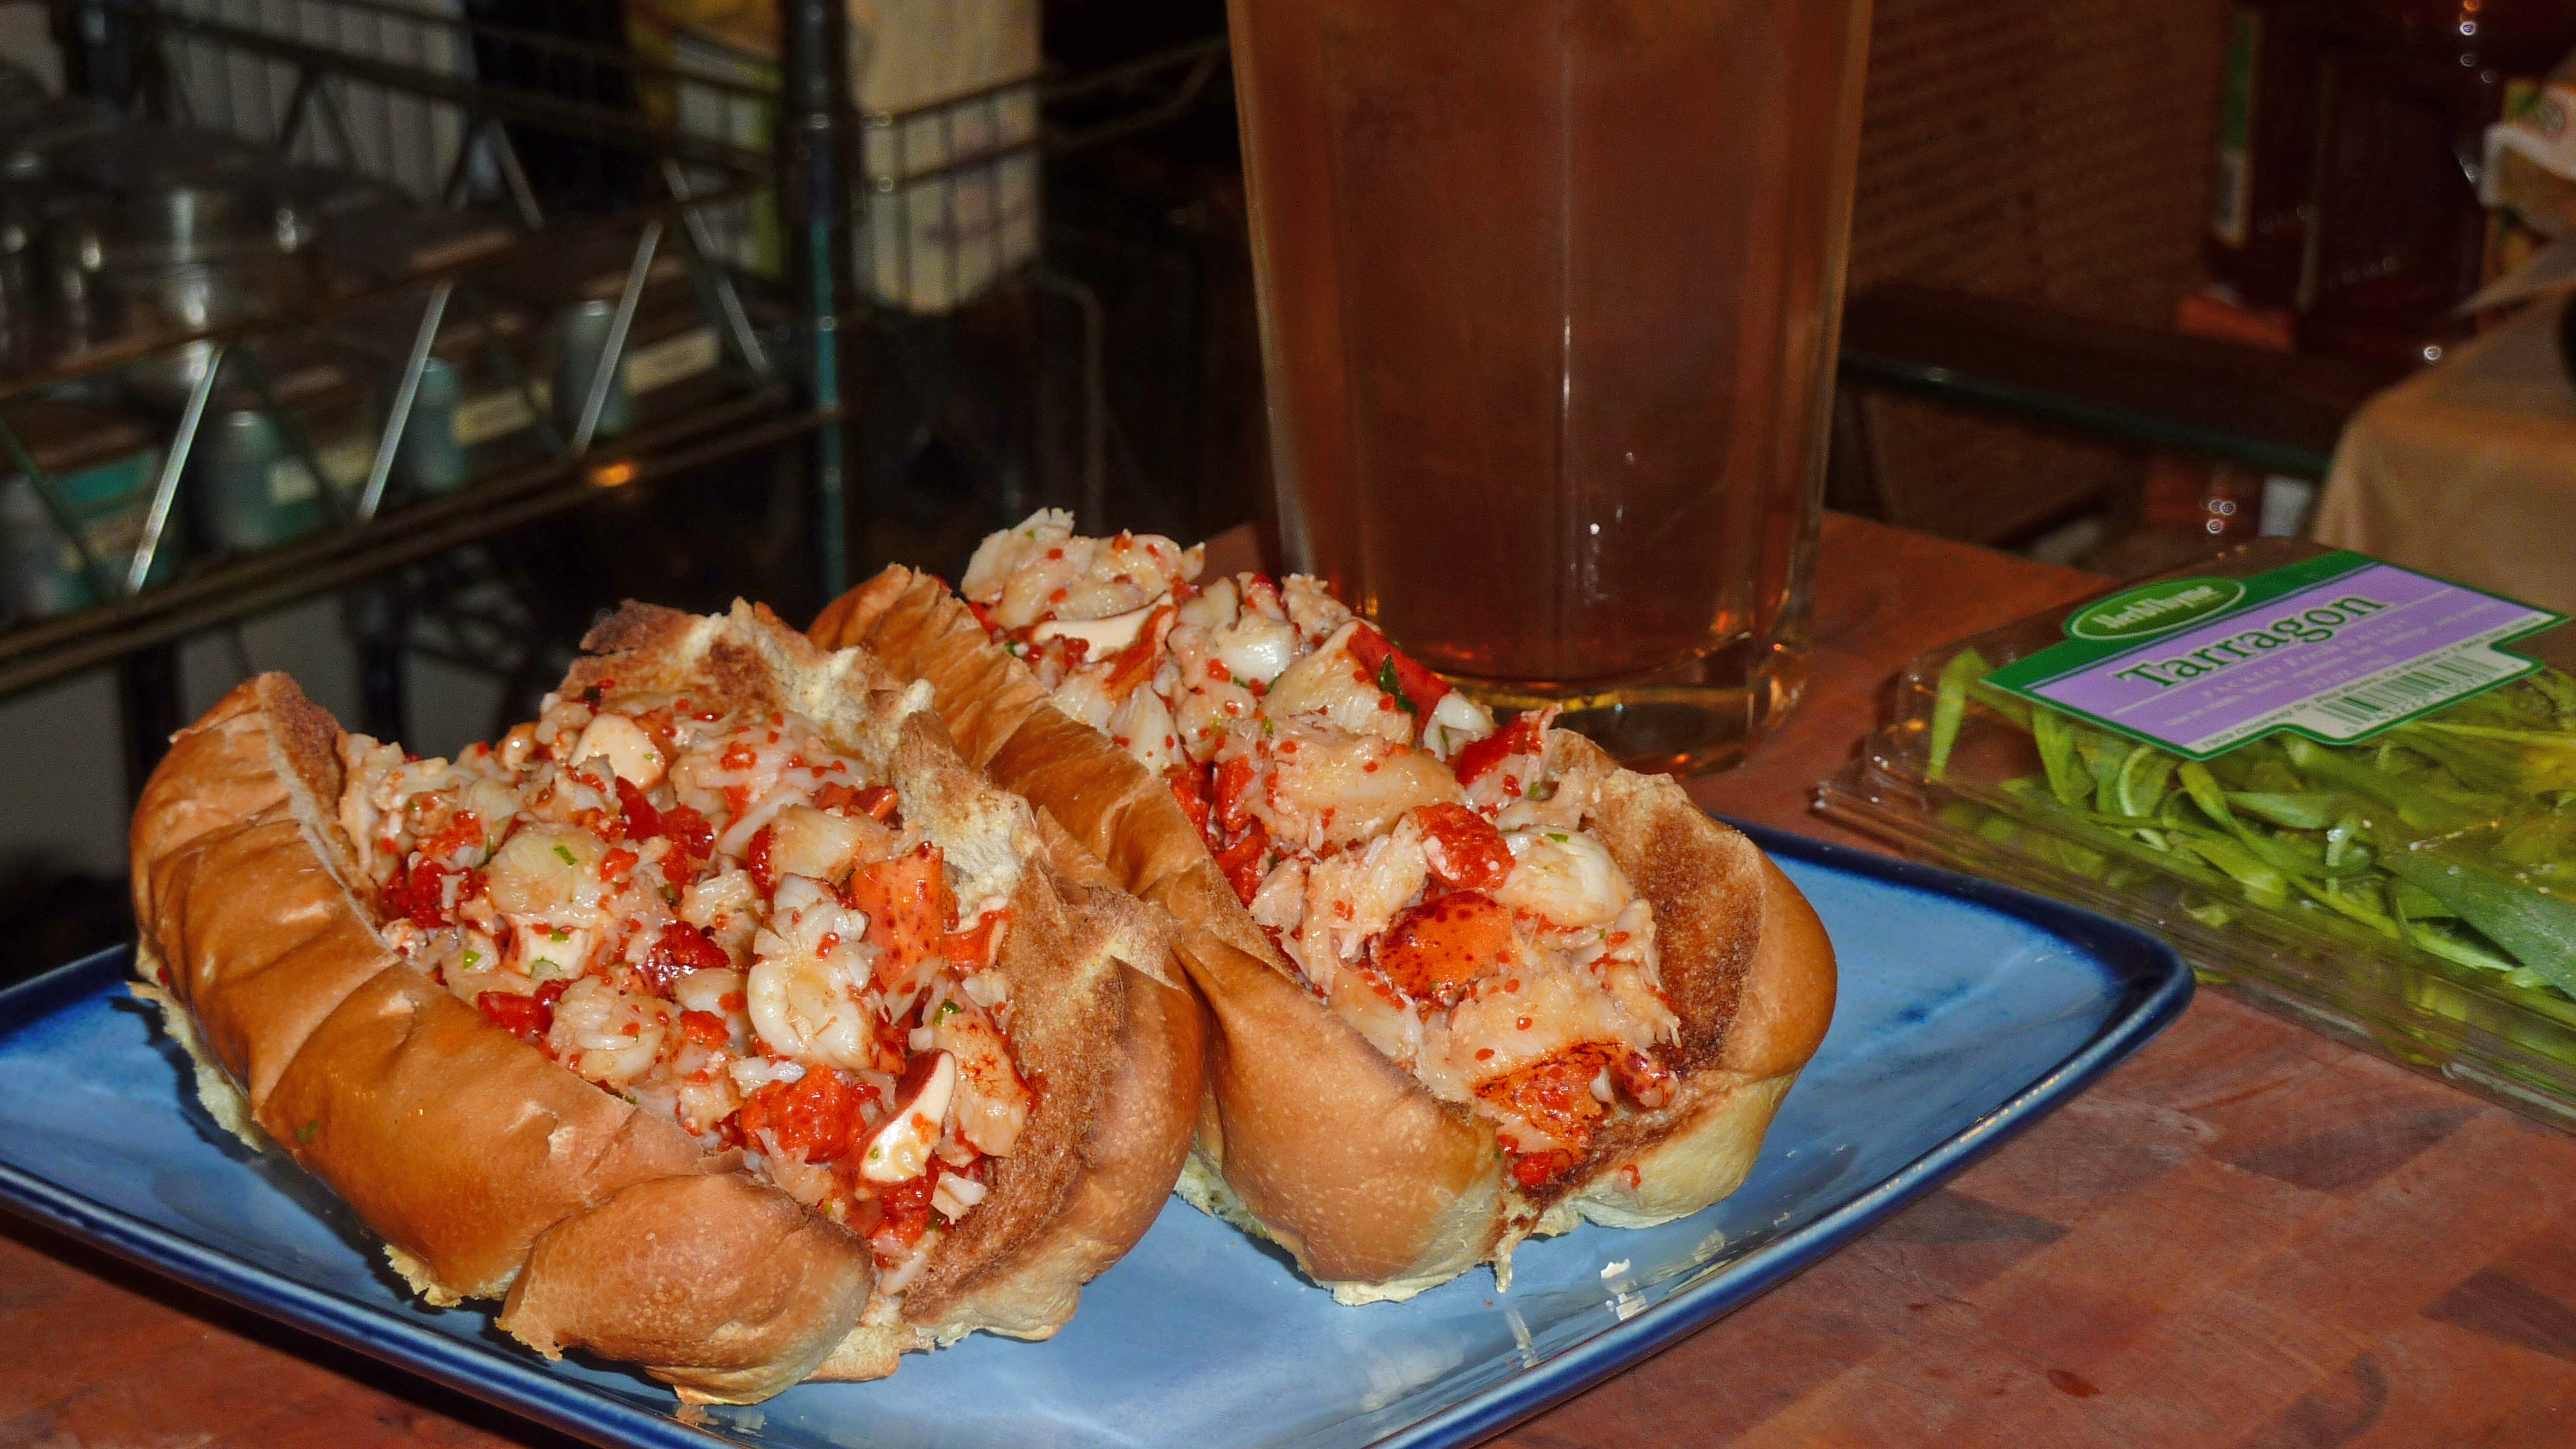
Lobster rolls: Warm the lobster meat in butter with chopped tarragon and serve on toasted top-sliced hot dog buns
This is the meat of six parboiled 1.25 to 1.4 pound lobsters, along with a few intact claw meats that I left unchopped for presentation purposes. Three of the six lobsters were female, so I used the roe – the red masses you find in female lobsters. The roe are the little coral-colored bits strewn throughout the meat below. You usually need to chop them up a little.
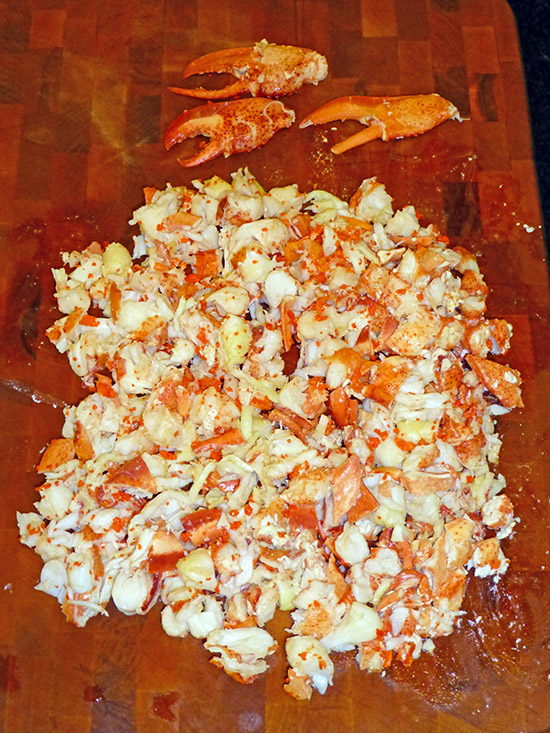
The parboiling in the recipe is important because the lobster’s final cooking is done in the assembled chowder. If you go much over the four minutes he specifies, your resulting chowder will end up with chewy lobster.


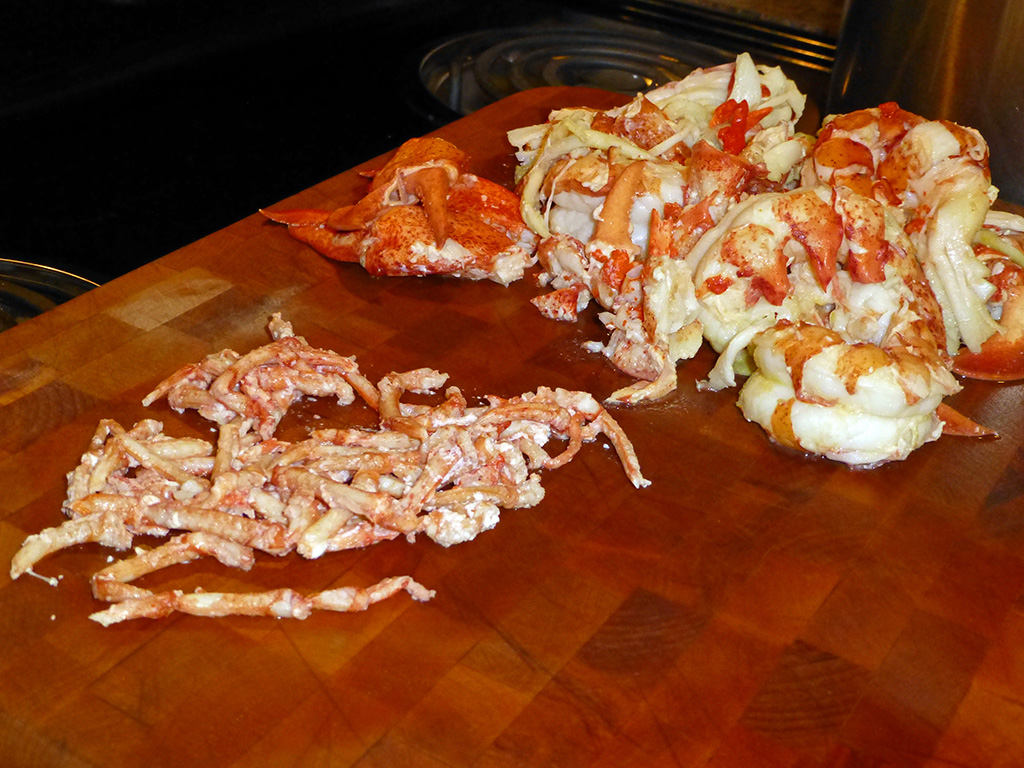
Most of the pictures herein are from 2013 before my kitchen was rebuilt (the new one is above), but I updated a couple with nicer looking 2014 and 2015 photos and added this one to show how much extra meat you can get out of the fiddly tiny legs of six lobsters. This is Jasper White’s trick to get those out easily and intact: use a rolling pin starting from the claw end of each little leg. Five seconds a leg is all it takes.
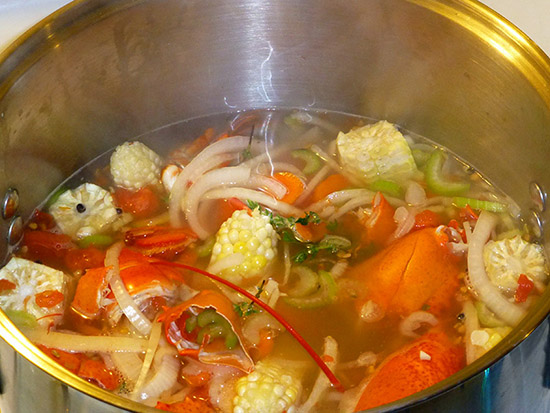
When you cut the shells in half to prepare them for the stock, you remove and discard from each side the head sac, which is a one-inch or so bit inside the head that contains…well, gunk is the best way to put it. You’ll find it pretty quickly. You don’t want its flavor in the chowder. Also, if there’s a lot of tomalley – the green-grey liver of the lobster – discard some of it. A little is good, but too much tomalley will make the chowder a bit pungent.
Here are all the unprepped stock ingredients:
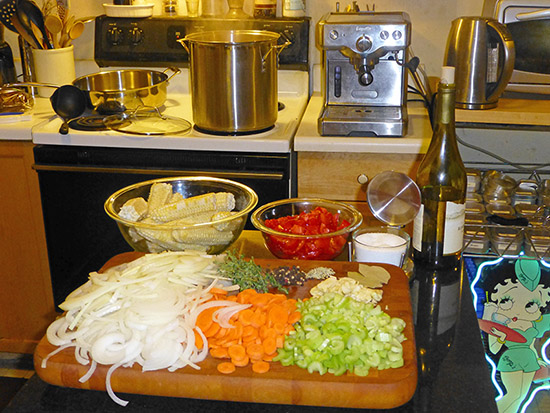
The lobster shells and water are in the pot now, and here are the other stock ingredients after prep, including stripping the corn, whose now broken-in-half cobs are in the bowl at upper left. To strip the corn, I use a large half-sheet pan, hold the corn upright by the pointy end, and run the knife down the kernels, rotating the cob about eight times to get it all. The pan catches all the kernels and it’s the only thing you have to clean afterward.
All the stock ingredients are in the stockpot here. The ears are actually stripped — it’s just the pointy ends where I held them that still have a few kernels on them.
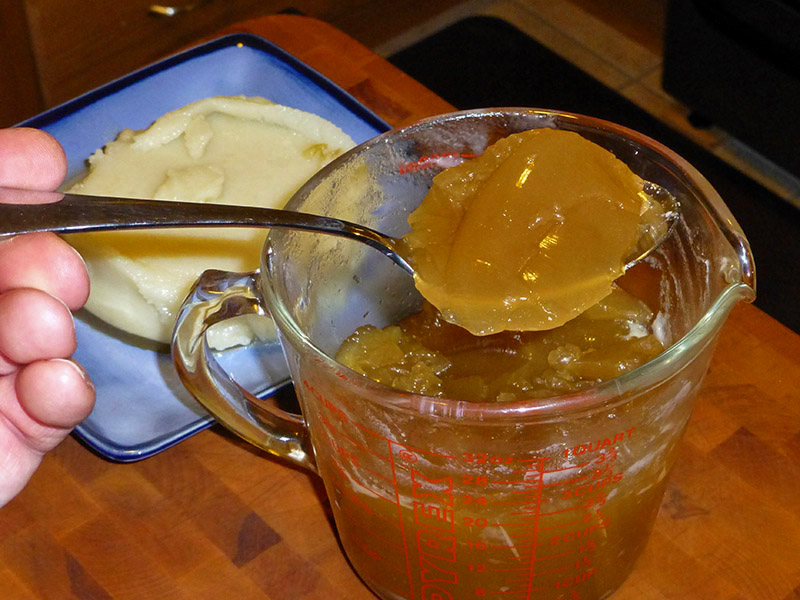
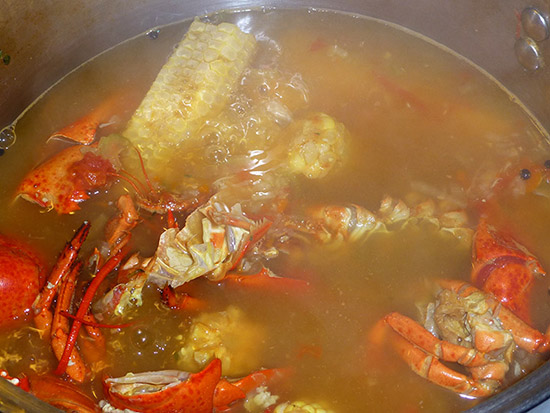
The stock after about two-and-a-half hours of slow simmering. My timing is a bit longer than White’s because I tend to make stocks at barely a bubble, low and slow. Because I do that, you can see not much liquid is gone at the point when I took it off the stove and strained it, and it’s still somewhat translucent:
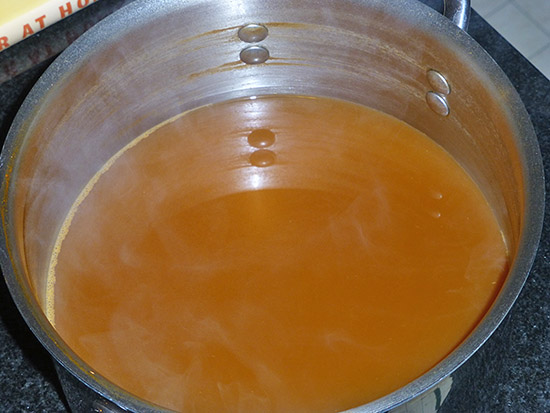
That’s good in one sense, because I never had to add water and everything remained submerged in the simmering water the whole time. However, for a single recipe, you’re supposed to end up with about four cups at the end, and you need to adhere to that instruction. What I did was strain the stock and then reduce it at a rolling boil for about fifty minutes to end up with eight cups for my double recipe, setting a timer for fifteen-minute intervals to check on it and make sure it wasn’t boiling away to nothing. You can see on the side of the pan how far down the level’s gone in that fifty minutes:
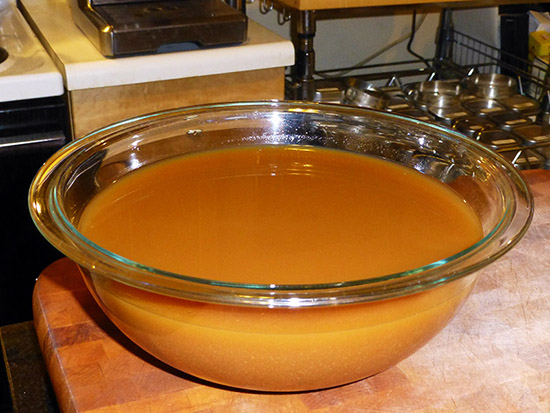
And this is what your stock will look like when it’s at the right strength and now opaque — you’ll have half this amount in a single recipe, of course:
Final assembly about to proceed. Note that the potatoes are just peeled and in water here. White advises in this program on fish chowder that you not dice the potatoes ahead of time and store in water to prevent discoloration because you lose all the starch exuding out of the cubes. You want that starch in the chowder to help thicken it, so dice them up at assembly time and toss them in the pot immediately along with any potato juice on the cutting board. White also demonstrates in that program how to get the claw meats out intact as I did.
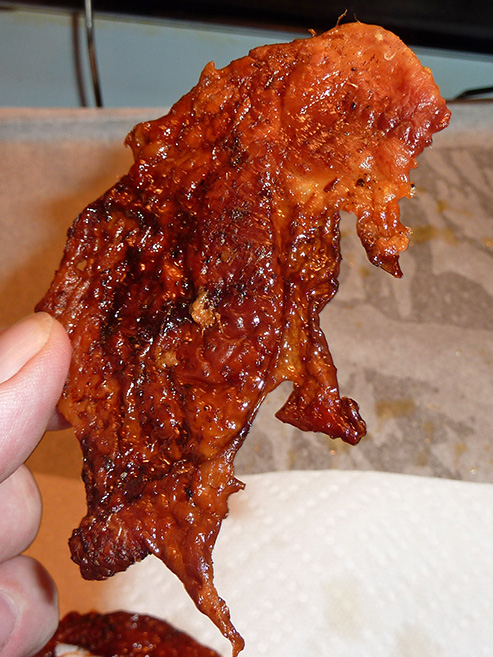
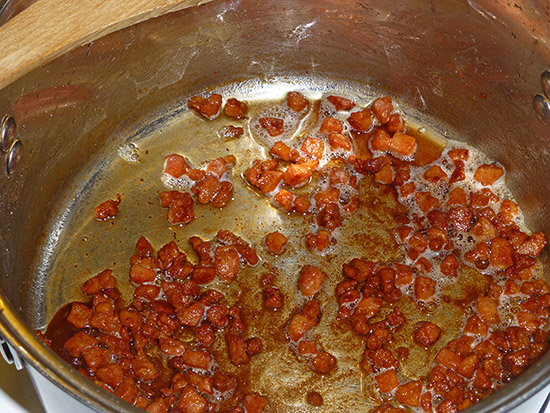
Diced salt pork (pork belly) fried up crisp and golden:
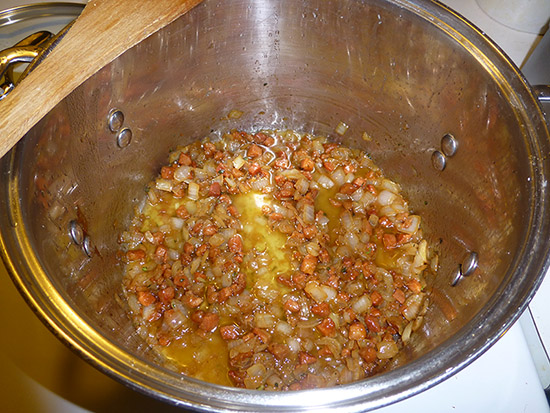
Onions sweating. As the onions were sweating, I whipped up a batch of cornbread, which takes about five minutes of prep, and got it in the oven. See the recipe at the end here.
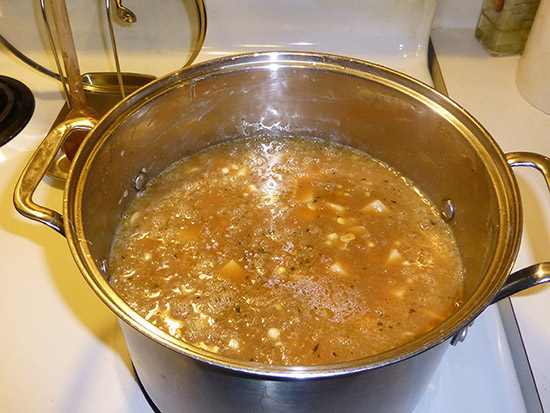
In go the potatoes and corn.
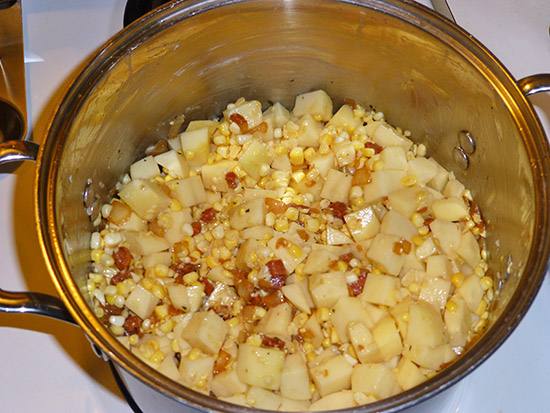
And then the stock. At this point, before the lobster and cream are added, you boil it heavily to both cook and rough up the potatoes a bit so you get more starch out of them. Check the potatoes every minute or two after his specified cooking time. When they’re done, the corners of the diced potatoes will be softened and the inside creamy but still somewhat firm.
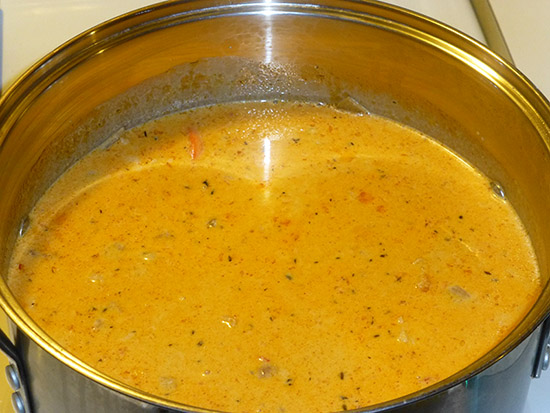
Finally, the pot’s taken off the heat, the lobster and cream are added, and you taste and carefully adjust the seasoning. In this case, I needed to add a few pinches of salt and plenty of freshly-ground pepper, adding them in moderate amounts and retasting several times. I use the full two cups of cream per recipe, by the way. If you have presentation claw meats like I did, put those in with the rest of the lobster meat so they’ll cook the rest of the way through. Stir carefully so you don’t break up the claw meats, and remember to fish them out when you’re ready to serve.
It’s also important that you follow to the letter his instruction on letting the finished chowder cool for an hour to allow the flavors to, as Julia Child might have said, insinuate themselves upon each other. Once you’ve done that, then you reheat — carefully, no boiling — and serve.
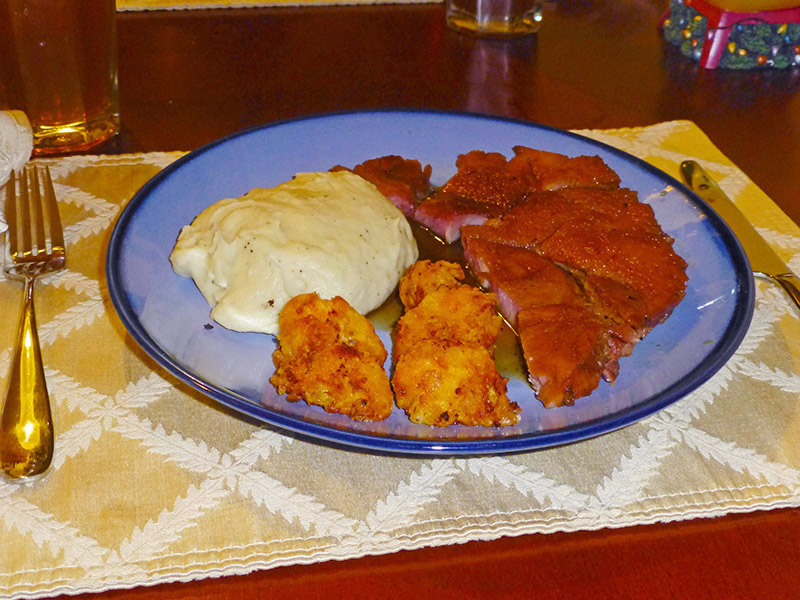
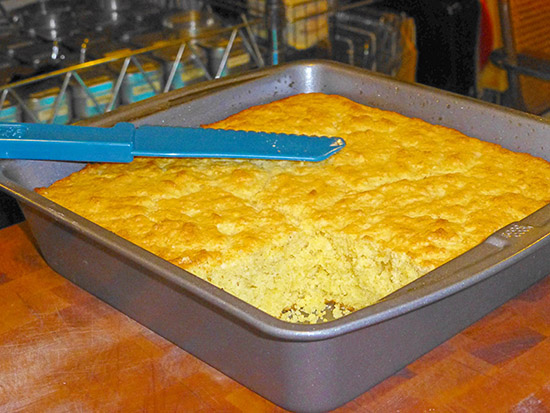
Cornbread out of the oven, with one piece mysteriously missing before service:
Et voilà!
2015
2014
2013
When reheating leftovers later, make sure you follow his instruction not to let it boil, or you’ll split the cream. I find that stirring frequently over a medium-low heat for about ten or twelve minutes gets it to the steaming but not bubbling point that you want.
One thing you may find as any leftover chowder sits in the fridge is that the flavor actually intensifies, almost unbelievably so. I actually had to dilute the latest two bowls I reheated with a couple tablespoons of milk because it was too rich, too intense, even for me.

![]()
This is my variation of…
Bob’s Red Mill Golden Cornbread
Ingredients
1 cup cornmeal, medium grind
1 cup cake/pastry flour
1/2 teaspoon salt
4 teaspoons baking powder (not baking soda)
1/4 cup sugar for slightly sweet cornbread, less or none if you prefer
1/4 cup (1/2 stick) butter, softened
1 egg, lightly beaten
1 cup milk
Directions
Preheat oven to 425F and grease/spray an 8-inch square pan well for easy removal of the cornbread.
Whisk together dry the ingredients in a medium-sized bowl.
Cut the half-stick of softened butter in small pieces into the dry ingredients and use your fingertips to work it into the dry mix. It doesn’t have to be completely worked in as in, say, a biscuit dough; this is just to more evenly distribute the butter than brute mixing of butter in a big chunk would do.
Add the beaten egg and milk, and beat just until mostly smooth, about one minute. Don’t overbeat or you’ll end up with tough cornbread.
Immediately pour the mix, which will be quite thick, into the greased pan and bake at 425F for 20-25 minutes until golden brown on top.
Cut into nine squares and serve warm with butter.
![]()
Another thing I’ll bet would go well with the chowder is White’s sweet corn fritters, which he demonstrates in this program. You can find his recipe here.